How to Incubate Chicken Eggs at Home: A Step-by-Step Guide for Beginners
This spring, we decided to try something new on the homestead. Instead of buying more chicks, we’re hatching our own. There is something incredible about watching an egg slowly turn into a tiny, living fluffball. It is a lesson in patience and care, and we are learning as we go.
If you are curious about how to incubate chicken eggs at home, this post breaks down our beginner-friendly process. From setup to hatch day, we are sharing what has worked for us and how you can try it too.
Getting Started with Chicken Egg Incubation
To hatch eggs at home, you only need a few basic supplies. Here is what we used:
Fertile eggs
An incubator with a consistent heat source and humidity control
An egg candler to check development
A thermometer and hygrometer
Optional but helpful: a notepad to track progress
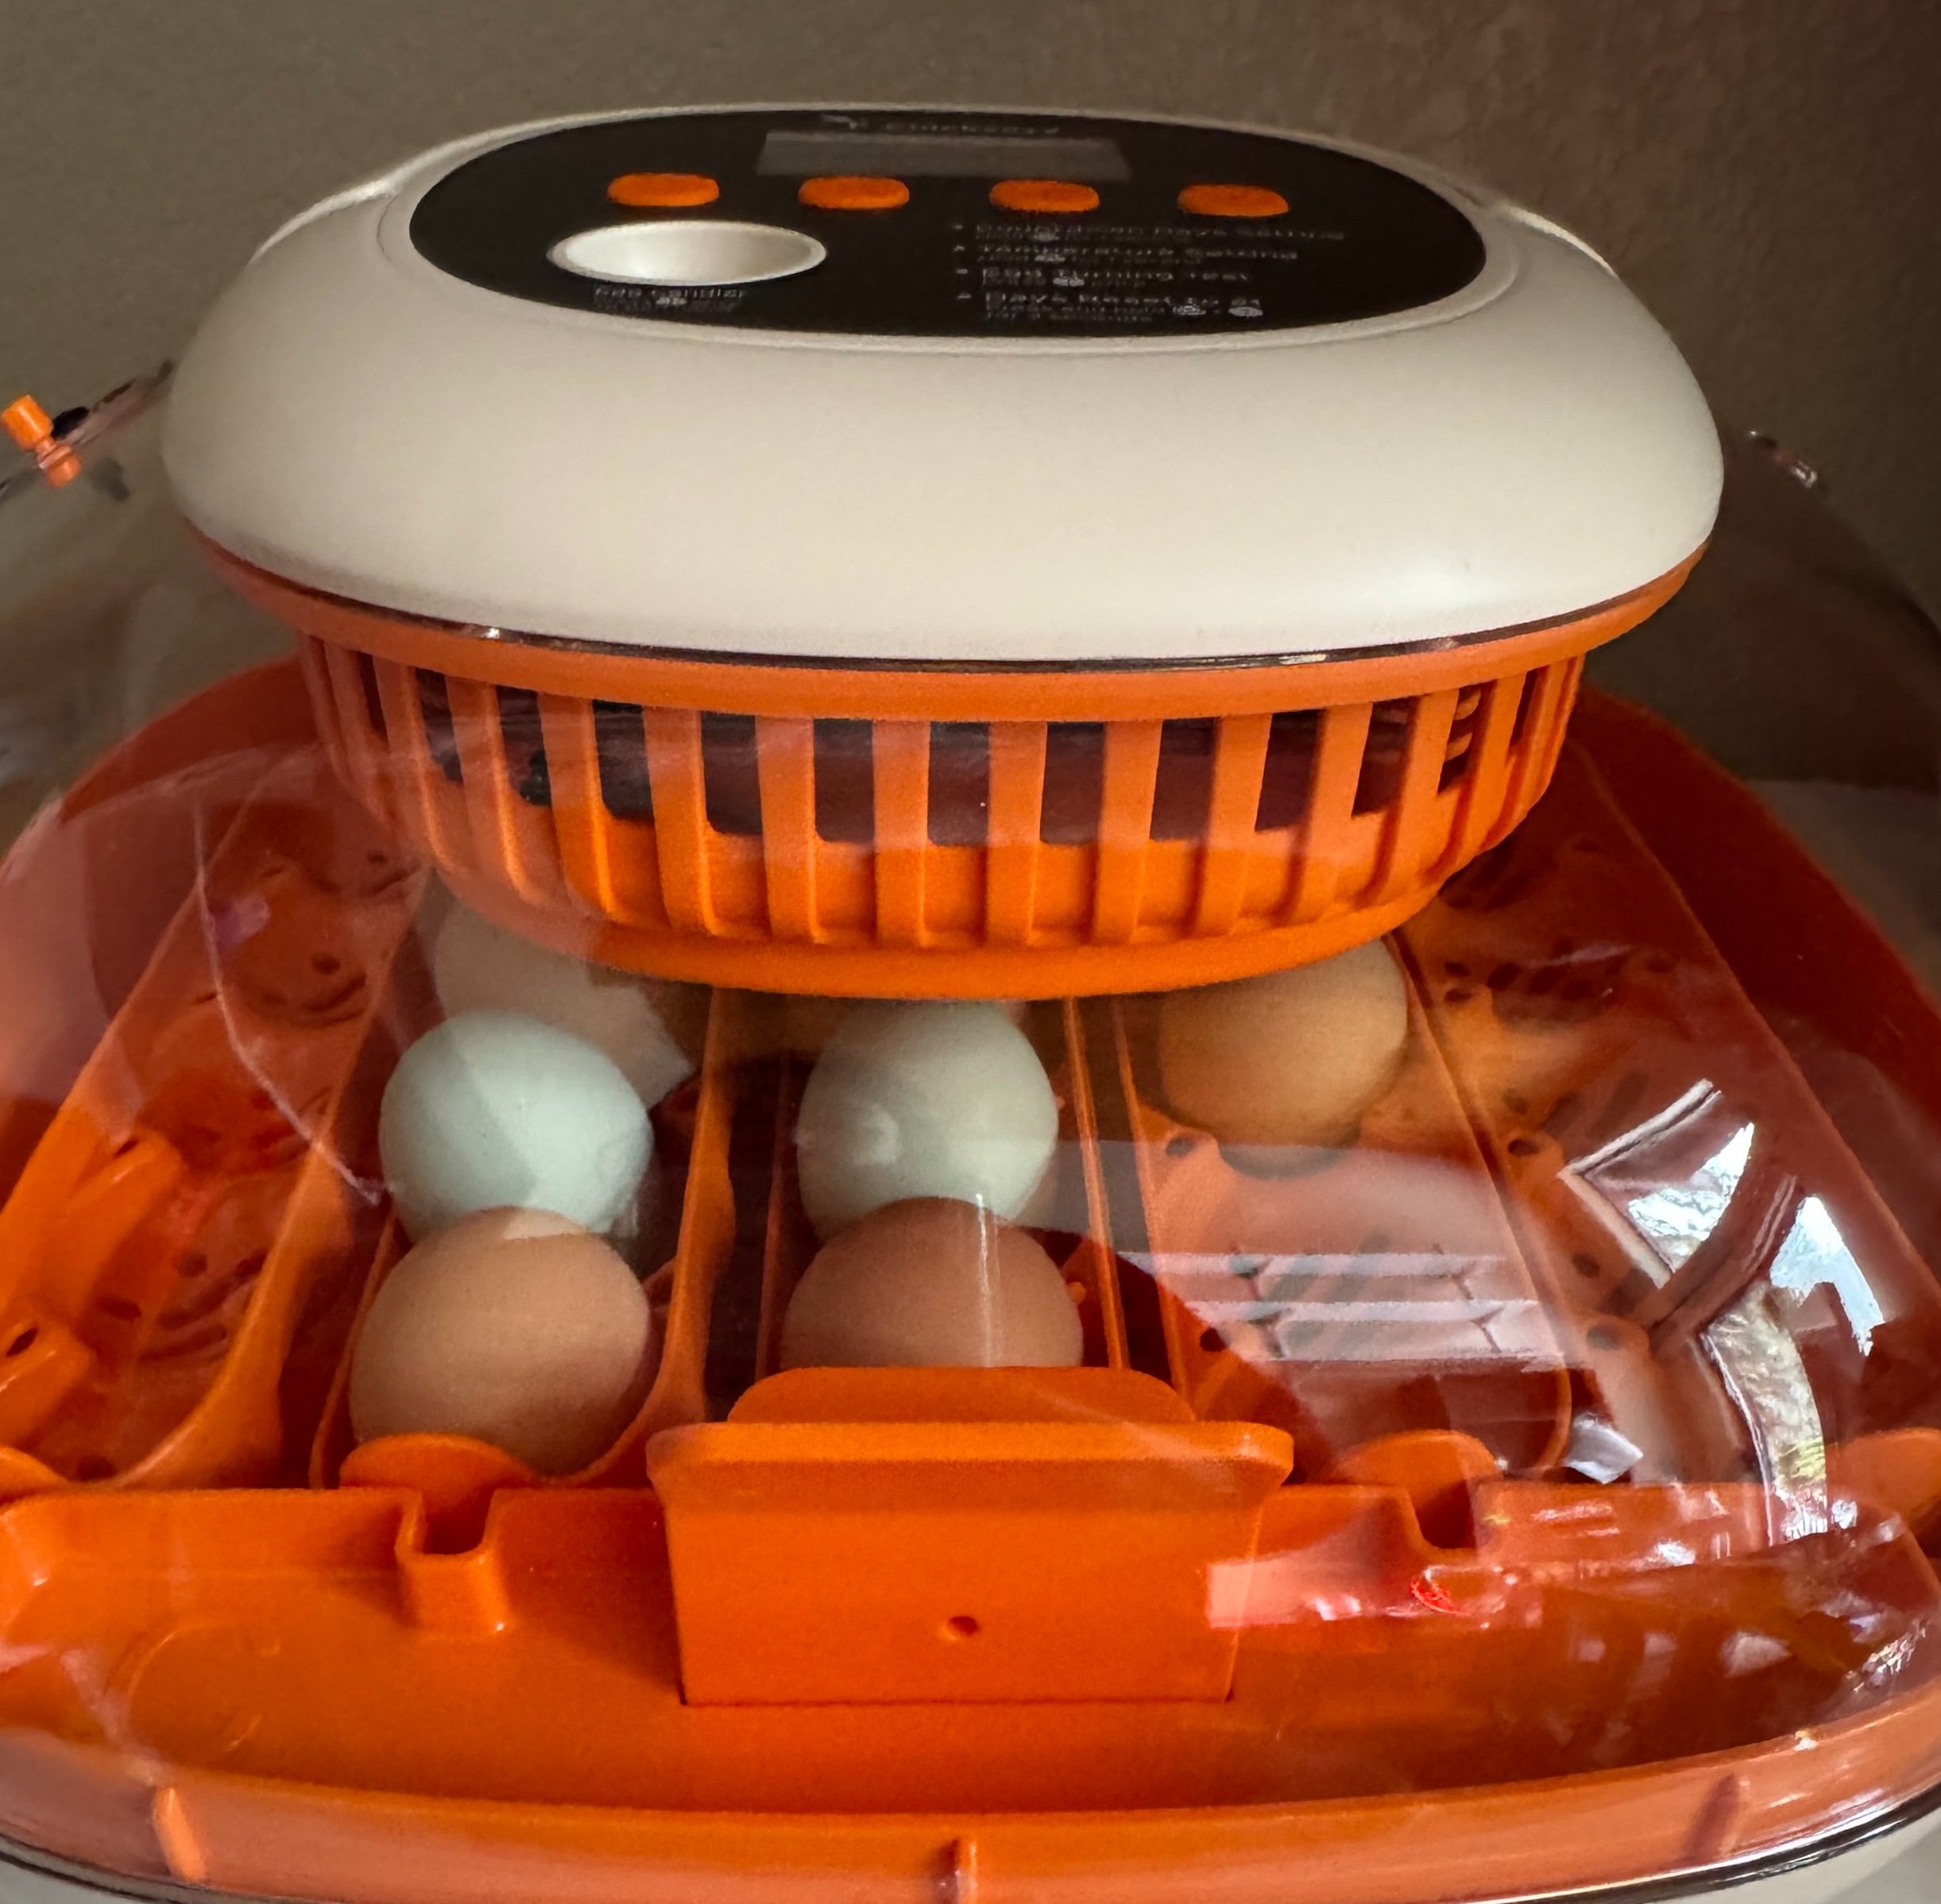
We are using the 25 Egg Incubator by Chickcozy, which comes with an automatic egg turner, built-in thermometer and humidity control, and a 360-degree clear window for easy observation. It has been perfect for our small batch hatch and takes a lot of the guesswork out of things for first-timers like us.
Preparing the Incubator
Before placing your eggs, make sure your incubator is set up and stable. We ran ours for 24 hours to ensure everything was working before adding eggs.
Set the temperature to 99.5°F
Keep humidity around 45 to 50 percent for the first 17 days
Choose a quiet spot with no big temperature swings or direct sunlight
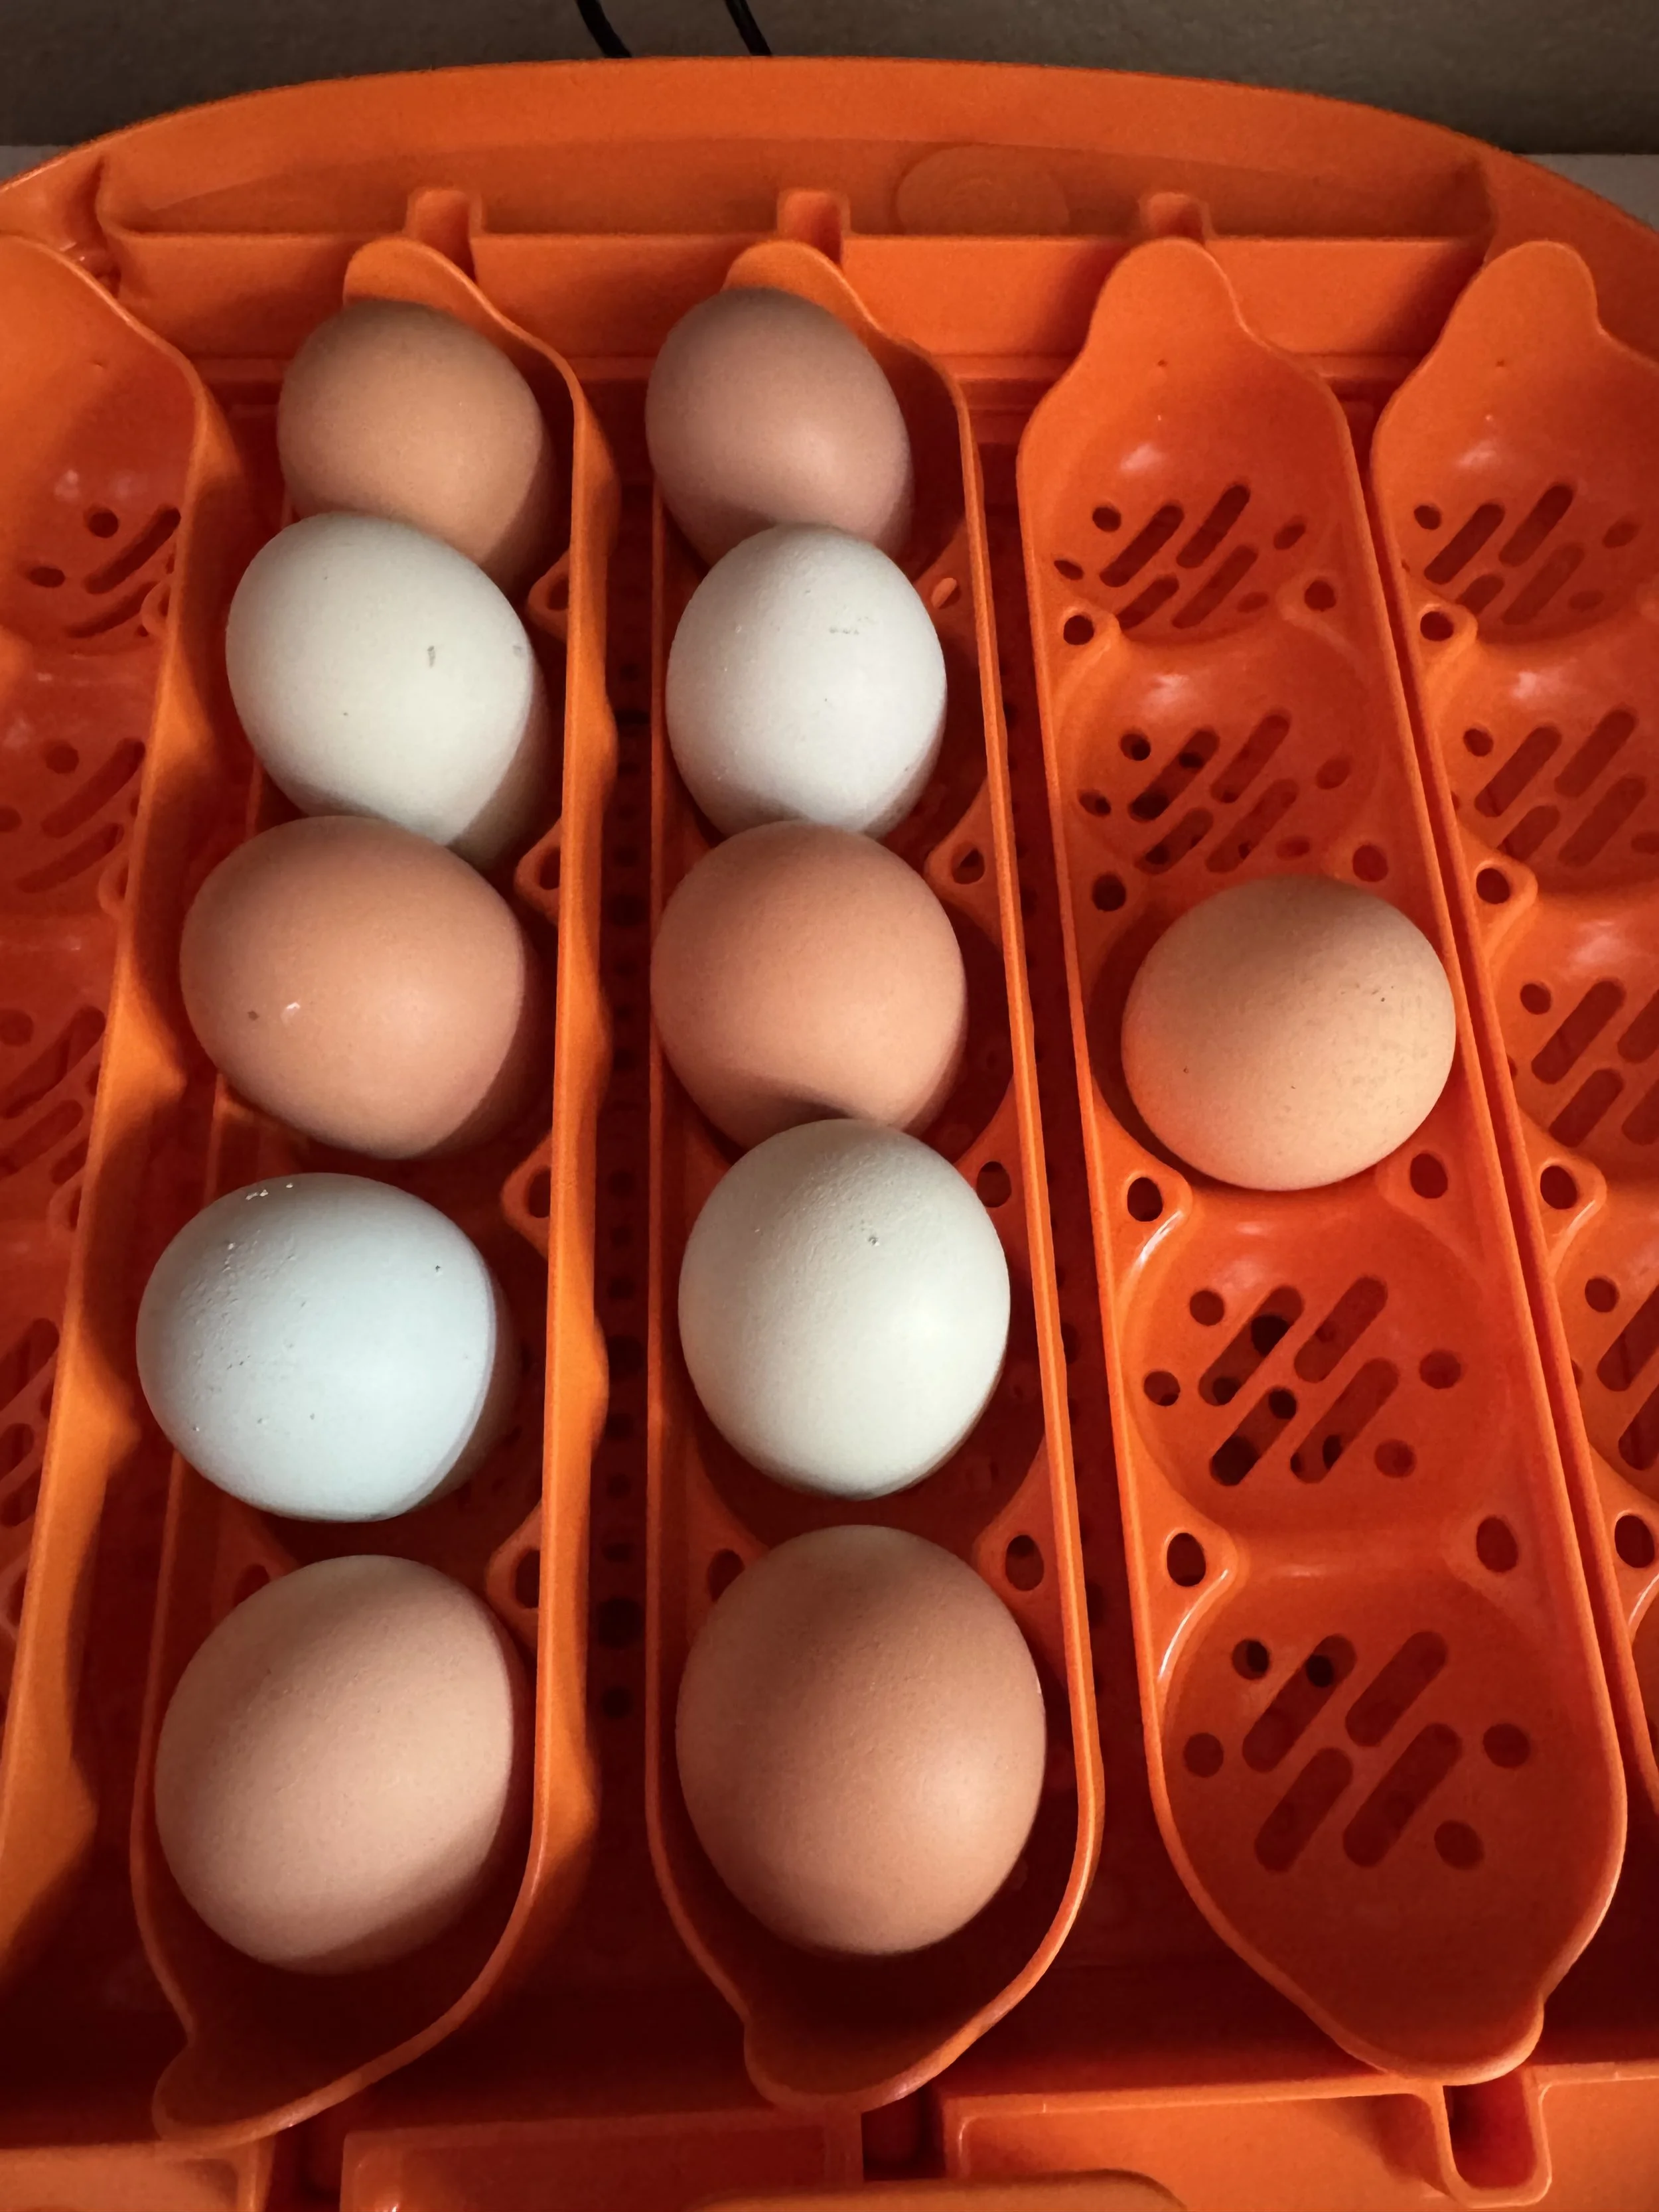
If you are using a manual-turn incubator, you will need to turn the eggs by hand at least three times a day. Ours turns automatically, which has been a huge help.
Daily Care and Turning
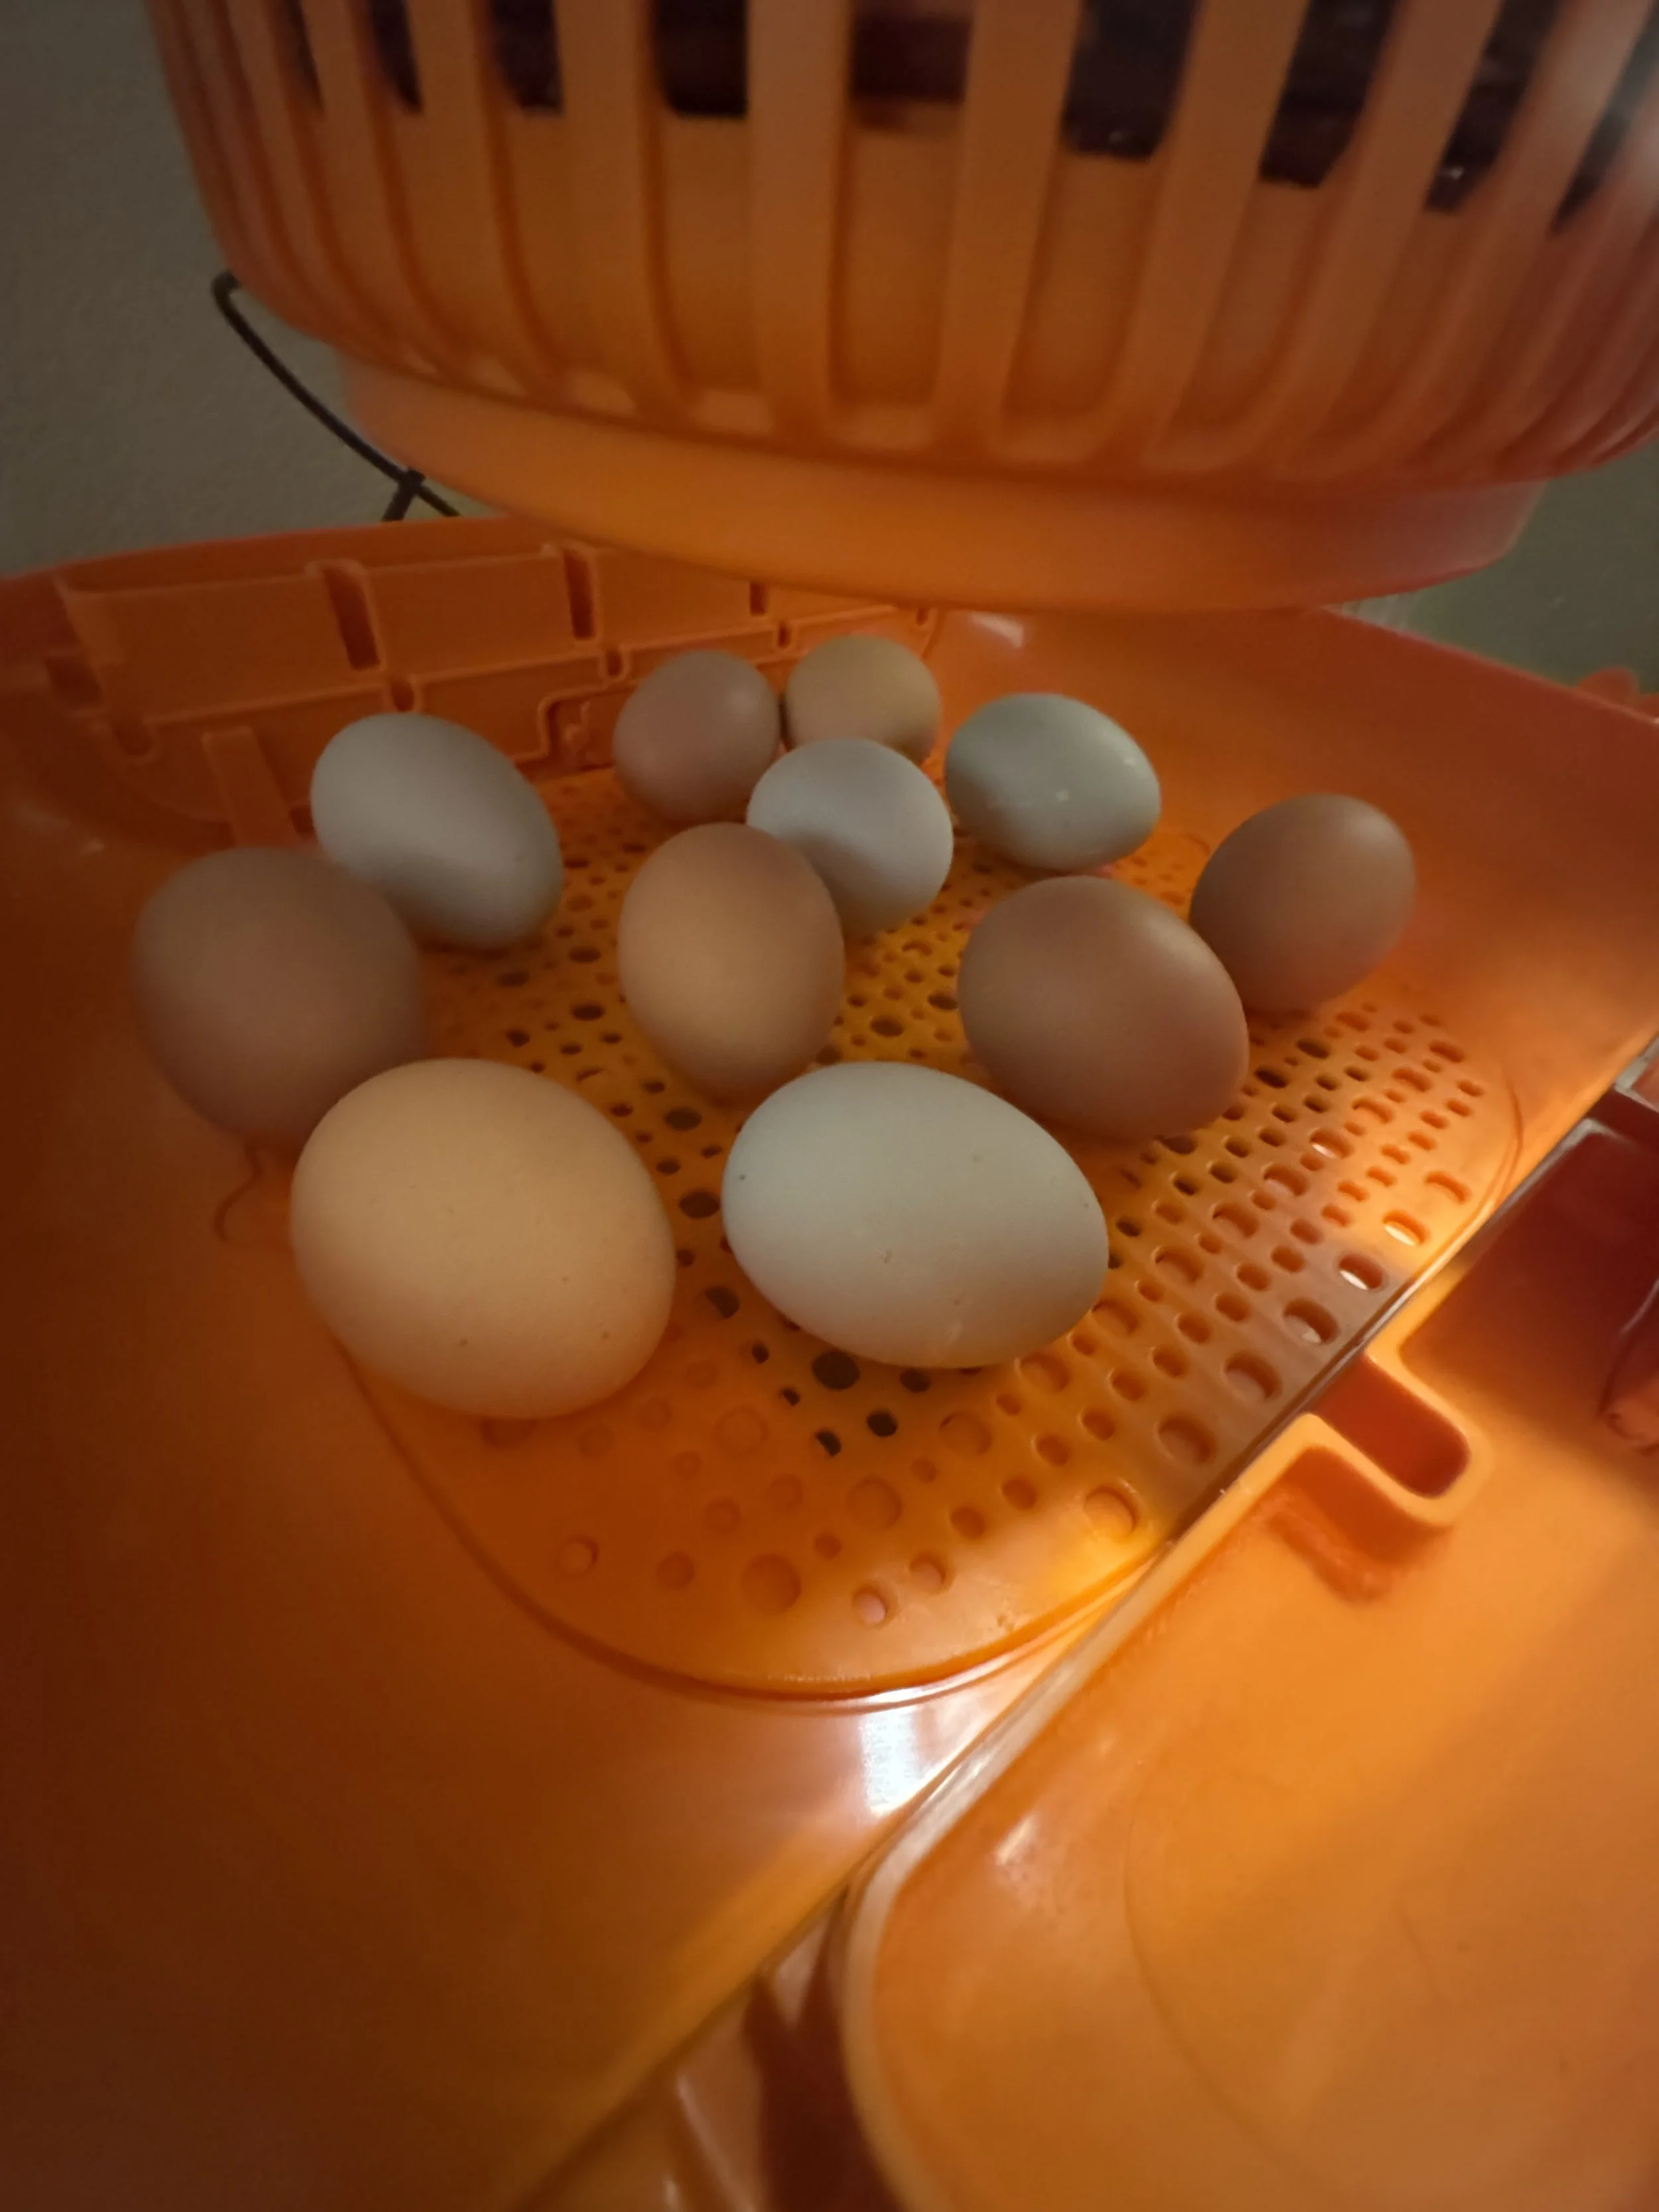
Each day, we check on the incubator to make sure it is holding steady. If anything looks off, we adjust right away. We also candle the eggs around day 7 to check for development. This is when you can start to see little veins and sometimes even a flutter of movement. It is one of the most exciting parts of the process.
If you are turning eggs by hand, be gentle and consistent. Marking each egg with an X and O can help you remember which side is up.
Lockdown: Days 18 through Hatch
At day 18, we stop turning the eggs and increase the humidity to about 65 to 70 percent. This helps soften the inner membrane and makes it easier for chicks to hatch. We call this stage "lockdown" because the incubator needs to stay closed. No peeking. No opening. Just let the eggs do their thing.
The less you disturb the environment, the better chance your chicks have of hatching strong and healthy.
What to Expect on Hatch Day
Once a chick starts to pip, which is when it first cracks the shell, it can take anywhere from 12 to 24 hours for it to fully hatch. This part takes time and a lot of patience. It might look like the chick is struggling, but most of the time it knows exactly what to do.
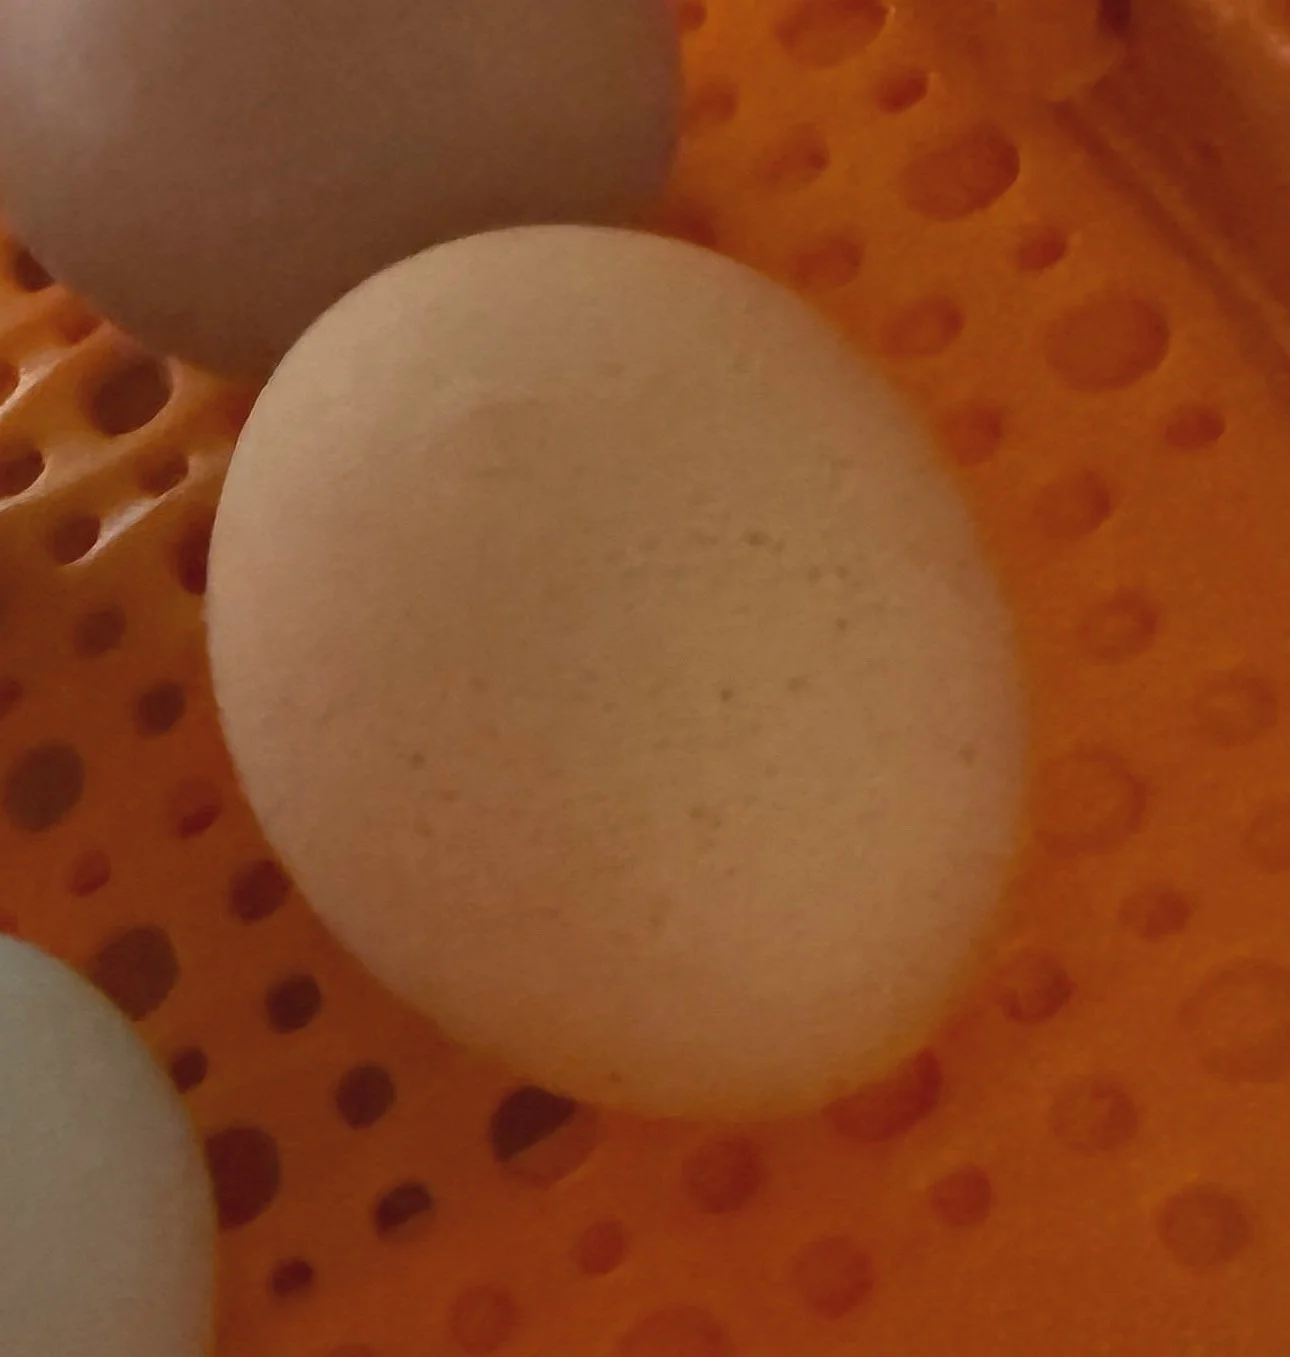
A pipped egg, this means you have 24-48 hours until the chick is fully hatched.
We do not assist unless absolutely necessary, and even then we wait a long time to make sure help is truly needed. A chick that hatches on its own is usually stronger and more likely to thrive.
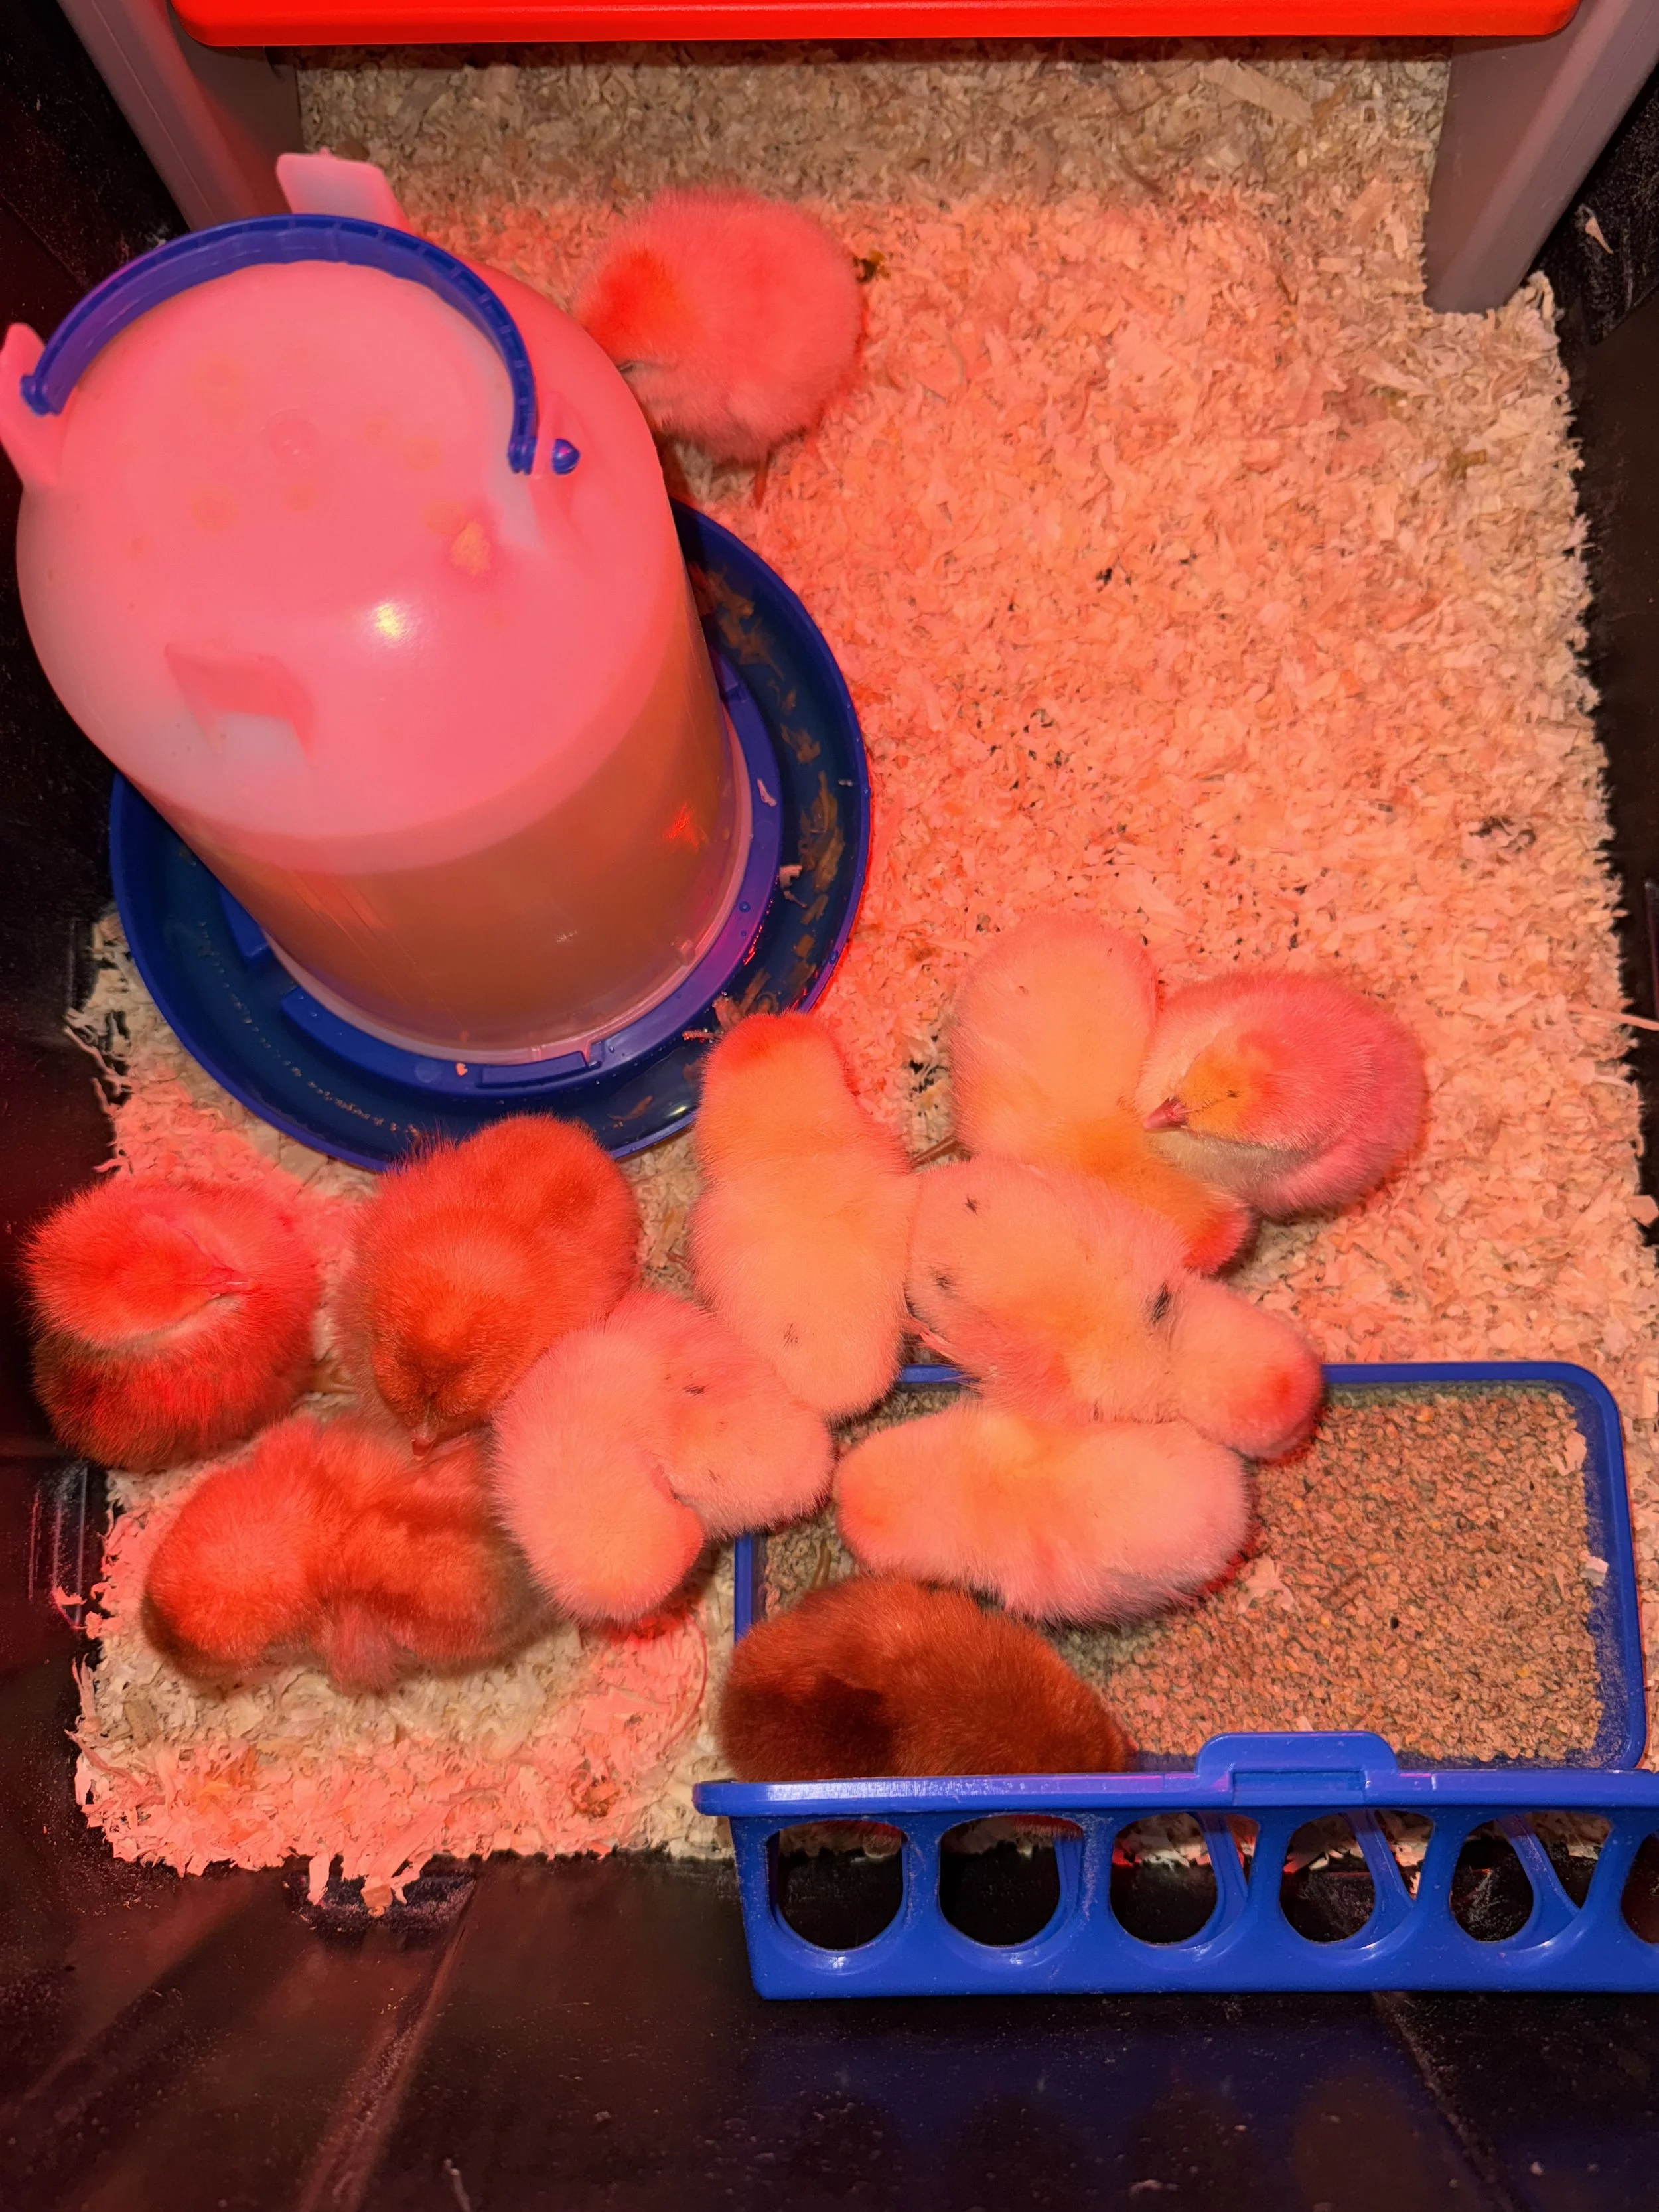
Once they are out, we let them dry off and fluff up in the incubator before moving them to the brooder.
If you're new to raising chicks, we put together an article all about brooder setup and chick care, including what to feed, how to spot signs of trouble, and when to transition them outside. You can read it here.
It has everything we’ve learned from raising chicks on our homestead and will walk you through the early days step by step.
What We Have Learned When Hatching Eggs
This is our first time incubating chicken eggs, and we already love the process. It is a hands-on way to grow your flock, and there is something extra rewarding about knowing you helped bring new life into the world.
The Chickcozy incubator has made it so much easier to manage. Having the automatic turning and built-in humidity control has given us peace of mind.
We are still learning, but this has been one of the most exciting projects we have taken on this season.
If you are thinking about hatching your own chicks, give it a try. Start small, be patient, and enjoy the journey. We will be back with a follow-up soon to share how our hatch went and introduce any new peeps that join the flock.
Feel free to drop any questions in the comments or connect with us on Instagram for more updates from the homestead.